When I first moved into a small apartment, the thought of gardening felt out of the question. I’d scroll through photos of lush gardens online and feel a little jealous, thinking you needed a big backyard to grow anything worthwhile. But then I discovered balcony herb gardens, and everything changed.
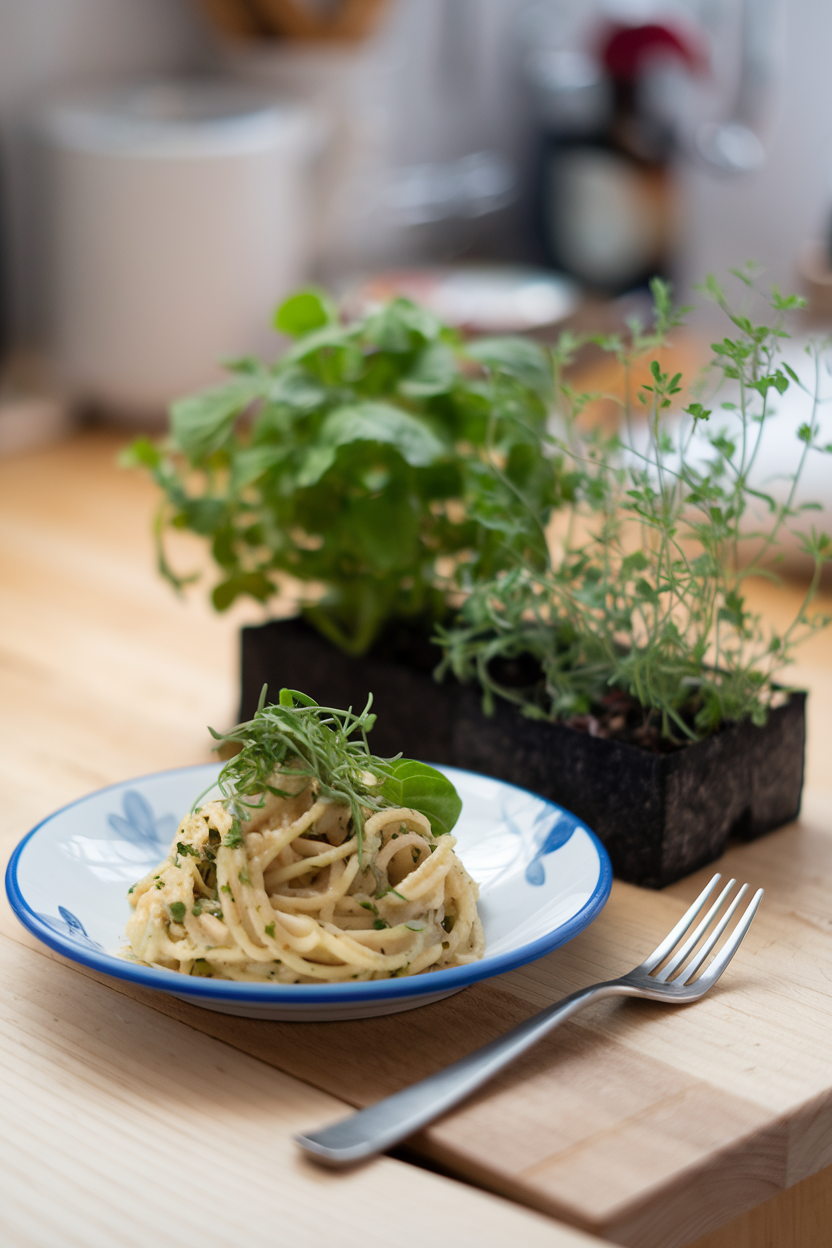
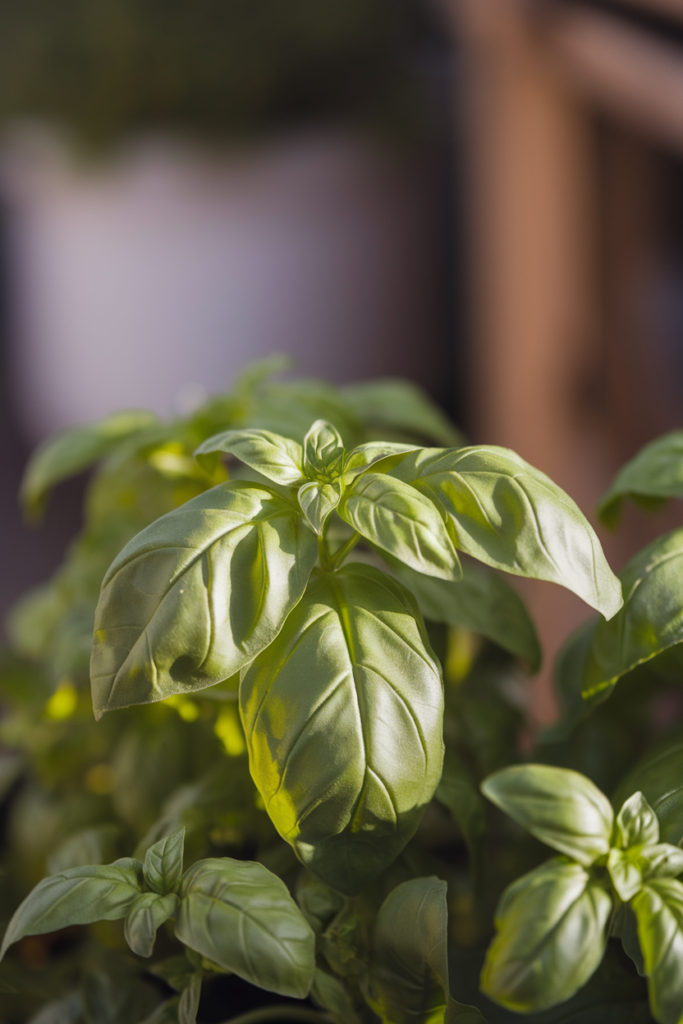
Even with just a few pots and some morning sunlight, I managed to grow basil, mint, and parsley right outside my sliding door. The first time I plucked a few fresh basil leaves to sprinkle over my spaghetti, it felt magical. Since then, I’ve been hooked. And the truth is: you don’t need much space, money, or experience to start your own balcony herb garden.
If you’ve ever dreamed of adding fresh flavor to your meals while enjoying the calm of greenery, let me walk you through how to make it happen—even if your balcony is no bigger than a broom closet.
Why a Balcony Herb Garden is the Perfect Small-Space Solution
Balcony herb gardens are perfect because herbs are compact, forgiving, and versatile. Unlike fruit trees or large vegetables, most herbs thrive in small containers. They love being close to where you live, since you’ll water and trim them more often.
There’s also something special about walking outside, even if it’s just a few steps, and cutting fresh herbs for cooking. It makes your meals taste better, and it gives you a quiet little ritual that feels grounding. For small apartments, it’s the perfect combination of beauty, practicality, and peace.
Step 1: Assess Your Balcony Space & Sunlight
Every balcony is different, so the first thing you need to do is figure out what you’re working with.
- Sunlight: Most herbs love sunlight. If your balcony gets 4–6 hours of direct sun, you’re in great shape. If it’s shady, don’t worry—you can still grow herbs like parsley, mint, or chives that tolerate lower light.
- Wind: Some balconies get strong wind. If that’s the case, consider using heavier pots or placing plants in corners for shelter.
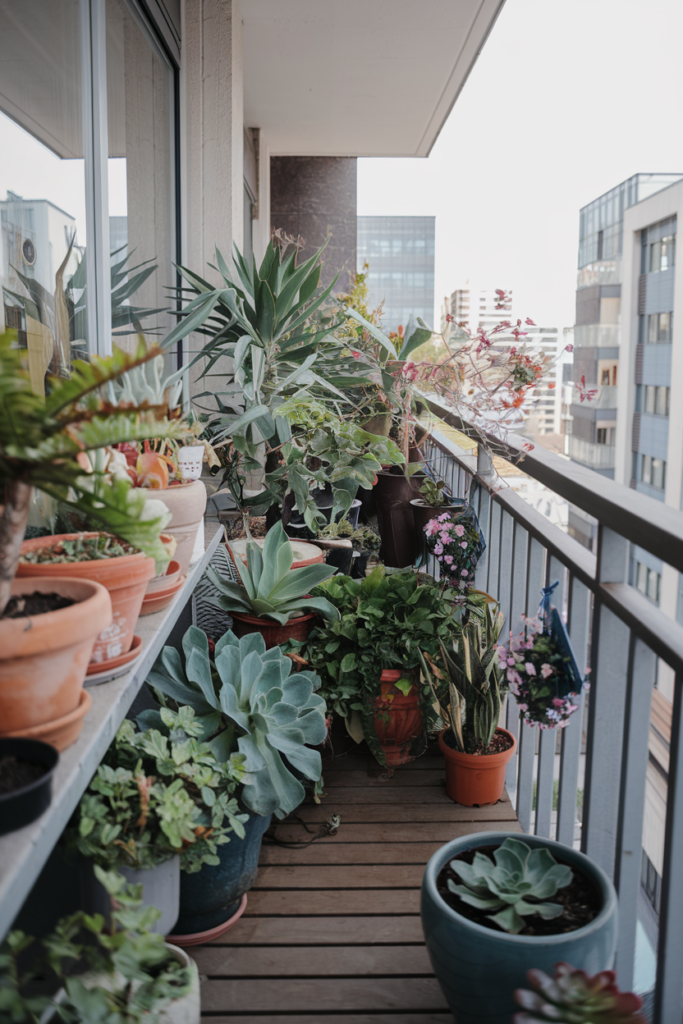
- Size: Even the tiniest balcony can host a herb garden. I once grew six different herbs on a balcony so small it could only fit a chair and a stool. Vertical setups like hanging pots or railing planters make use of height when floor space is tight.
Step 2: Pick the Right Herbs (Start with Your Plate)
I recommend starting with herbs you already cook with often. That way, you’ll actually use them and feel the reward quickly.
- Basil: Loves sun, great for pasta, pizza, and salads.
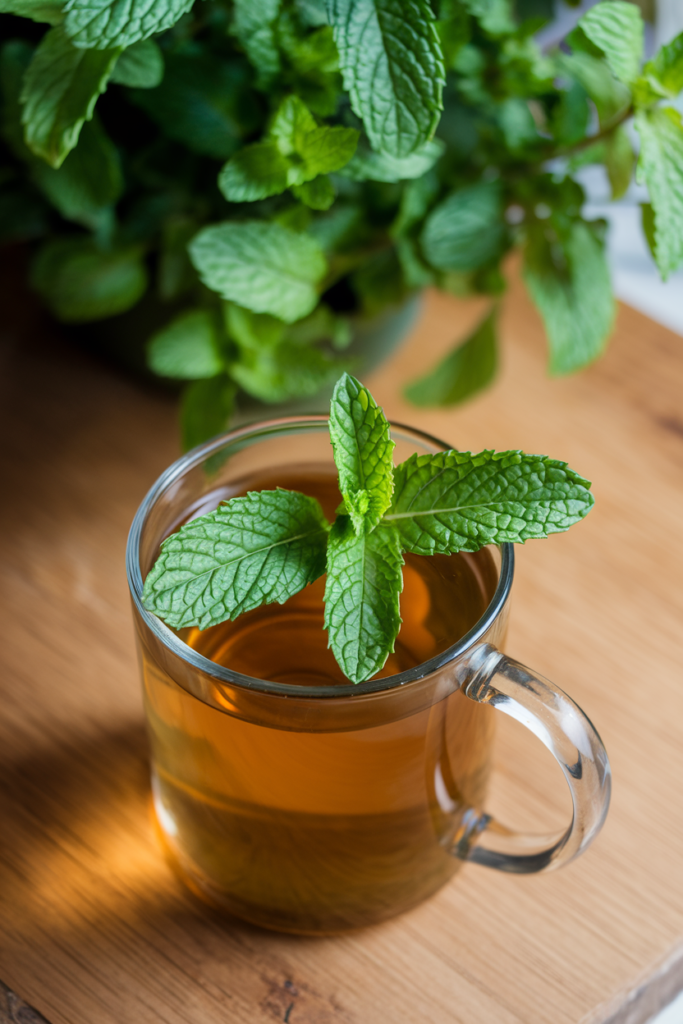
- Mint: Refreshing for tea or cocktails, grows quickly (almost too quickly).
- Parsley: Hardy, versatile, perfect for garnishing almost anything.
- Rosemary: Woody, fragrant, and low-maintenance.
When I first started, I grew basil, parsley, and mint because those were the herbs I used almost daily. Every time I made tea, I’d go outside and pluck a few mint leaves. It made even the most ordinary days feel a little special.
Step 3: Choose Containers & Soil (The Budget Approach)
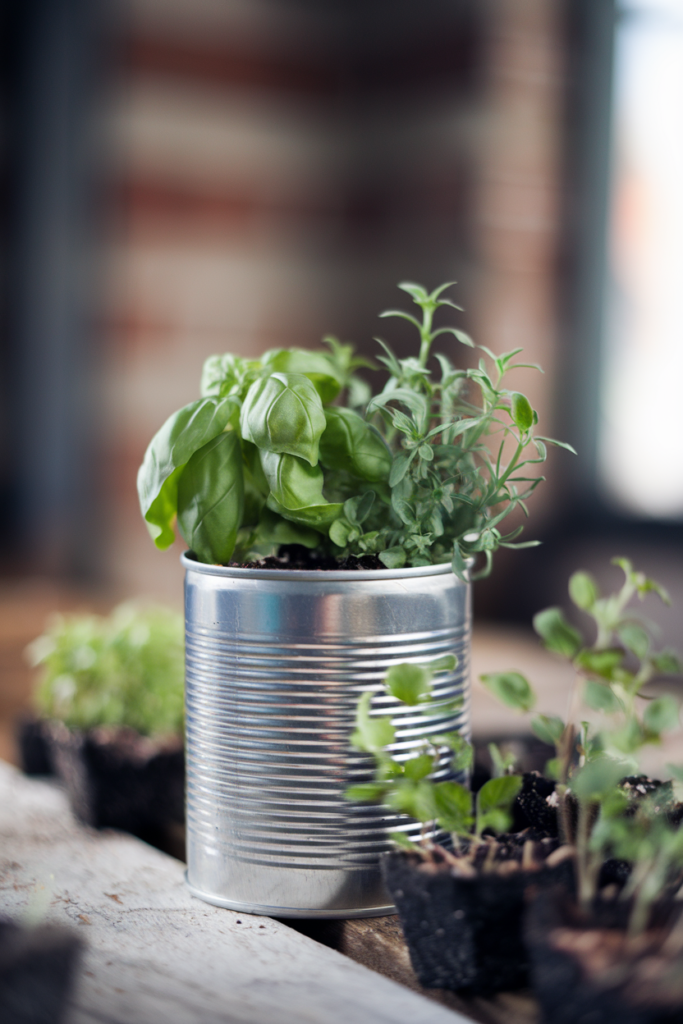
Don’t stress over fancy pots. Almost any container can work as long as it has drainage holes at the bottom. Without drainage, your herbs will drown.
- Upcycled containers: I once grew herbs in old tin cans—I just drilled holes at the bottom and lined them up on a shelf.
- Railing planters: Perfect if your balcony floor is cramped.
- Soil: Avoid dirt from outside. Balcony gardens thrive best with high-quality potting mix designed for containers. It’s lighter, drains better, and gives herbs the nutrients they need.
💡 Budget Tip:
Starter plants usually cost less than each at local markets or plant shops. A basic bag of quality potting soil is usually under and can fill multiple small pots. The cost of a few starter plants and soil is less than a single dinner out, but it provides fresh flavour for months!
Step 4: Planting and The Mint Warning
You have two options: seeds (cheaper, but requires patience) or starter plants (more expensive, but you can start using herbs right away).
- Grouping: Plant each herb in its own container, unless they share similar needs (rosemary and thyme like dry soil and do well together).
- Underestimating Mint: Mint should always be kept alone. It grows so aggressively that it will quickly take over and kill its neighbours. This was one of my first mistakes!
Step 5: Care, Maintenance, and Pruning to Encourage Growth
The good news? Herbs are not high-maintenance. But they do have a few simple needs.
- Watering: Most herbs prefer slightly moist soil but not soggy. Stick your finger into the soil—if the top inch is dry, it’s time to water.
- Pruning is Key: Regularly snip herbs to encourage bushier growth. I learned this the hard way—when I let my basil grow tall without trimming, it flowered and stopped producing new leaves.
- Sunlight: Rotate pots every week so each side of the plant gets even sun.

My First Balcony Herb Garden Mistakes (So You Don’t Repeat Them)
- Underestimating Mint: I planted mint with parsley in the same container. Within weeks, mint had taken over and the parsley barely survived. Always give mint its own pot.
- Ignoring Pruning: My basil turned into a skinny, flowered stick because I didn’t trim it. Lesson learned—regular pruning is key.
- Planting Too Much at Once: I got excited and crowded my balcony with every herb I could find. It became overwhelming. Start small with 3–4 herbs you actually use.
Final Thoughts: The Joy of a Small Sanctuary
A balcony herb garden isn’t just about fresh food—it’s about creating a little sanctuary in your everyday life. Even if your balcony is tiny, those pots of green will transform it into a calming, productive space.
I’ve seen firsthand how much joy mine has given me, from brewing fresh mint tea on rainy mornings to grabbing rosemary for roasted chicken. It’s not just practical, it’s deeply satisfying.
Your next step is simple: Get a pot, some soil, and your favorite herb. Place it on your balcony and watch how quickly it grows—not just into a plant, but into a ritual you’ll look forward to every day.